

Top Tips for Flawless Cabinet Painting: Achieve a Smooth Finish Every Time
Looking to give your kitchen a cost-effective makeover? Cabinet painting is a top choice, but the difference between a DIY disaster and a sleek, professional look lies in the execution. In this article, we dive straight into the essential steps and tricks for a flawless cabinet finish, ensuring you’re equipped with the knowledge to tackle your project with confidence.
Key Takeaways
Before painting cabinets, gather the right tools like high-quality synthetic brushes, foam rollers, and quality painter’s tape, and don’t forget safety gear like gloves and masks.
Prep work is crucial: label and remove cabinet doors, deep clean with degreaser, fill in defects with wood filler, and sand for a smooth base before priming and painting.
Patience pays off: apply primer and paint evenly, choosing the right type for durability, and allow ample time for curing before reassembly for professional, lasting results.
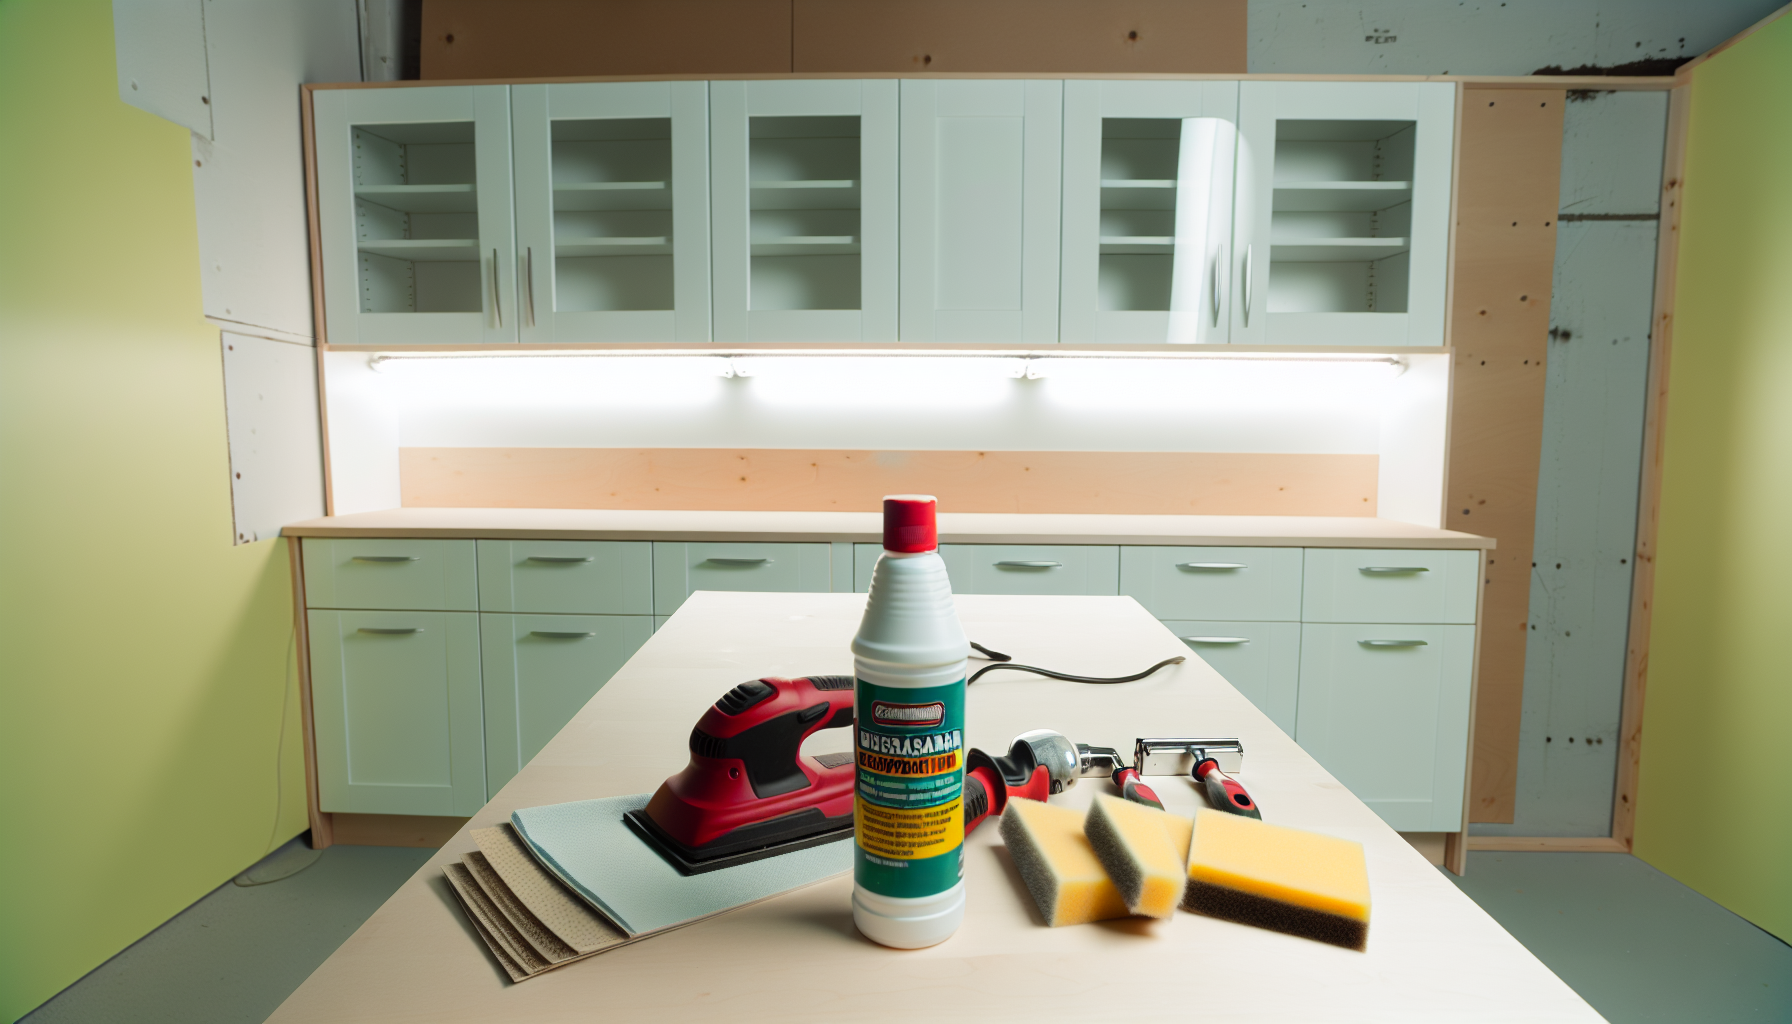
Essential Cabinet Painting Supplies

Various painting supplies including brushes, rollers, and painter's tape
Like any great masterpiece, painting cabinets starts with assembling the right tools. It’s like going on a road trip - you wouldn’t set off without packing the essentials, would you? The same goes for painting kitchen cabinets. High-quality brushes, foam rollers, and top-notch painter’s tape are your best friends for this journey. You’ll need these to avoid the dreaded spray-on finishes and to achieve that professional finish that you’re after. And let’s not forget about safety - gloves, masks, and goggles are a must, and so is ensuring proper ventilation. So, before you embark on this DIY project, make sure you’ve got everything on this checklist.
Just a quick note, none of the links are monetized. If we were to do this project ourselves, these are just the tools we would use.
Here are all of our suggestions:
Sanding Disks for Orbital Sander
Selecting the Right Brushes and Rollers
We’ve all heard the saying, “The right tool for the right job,” and when it comes to painting cabinets, this couldn’t be more true. Investing in high-quality synthetic brushes, especially those made from nylon or polyester, will pay off in the long run. They’re compatible with both water and oil-based finishes, which makes them versatile. Look for features such as an angled sash, a chiseled edge, and medium-stiff bristles, which are perfect for achieving clean lines and reducing brush marks on your cabinets. Your choice of brush size will depend on the project size and your need for precision or efficiency.
Throw in a foam roller for those large, flat surfaces, and you’re good to go!
Our suggestion for:
Importance of Quality Painter's Tape
Now, let’s talk about the unsung hero of any paint job - painter’s tape. Quality painter’s tape is like your trustworthy co-pilot, ensuring that your painting journey stays on course. It offers high conformability, essential for smooth application around cabinet edges, resulting in crisp and clean paint lines when using high quality paint from your local paint store.
Plus, choosing painter’s tape with the right temperature tolerance ensures optimal performance and adhesion in different working environments. And did we mention it resists tearing when removed, minimizing clean-up time and enhancing the efficiency of the painting process?
Our suggestion for:
Safety First: Protective Gear You'll Need

Protective gear including gloves, mask, and goggles
Alright, we’ve got our brushes, rollers, and painter’s tape sorted. Now, it’s time to gear up - literally. Painting cabinets is a messy job, and you certainly don’t want to be inhaling dust and fumes. So, safety goggles and a dust mask are a must when sanding cabinets. Let’s not forget about gloves, which will protect your hands from any spills or splatters. And remember, good ventilation is crucial when painting cabinets indoors. You can achieve this through open windows and doors, using fans to keep the air moving, and ensuring continuous ventilation for at least three days after painting. Safety first, always! Considering cabinet painting costs, it’s essential to invest in proper safety equipment.
Preparing Your Cabinets for Painting
Workspace with cabinets, degreaser, and sanding equipment
Let’s move onto the next stage of our cabinet painting journey - preparation. Just like preparing for a marathon, this stage is all about laying the groundwork for a successful paint job.
Start by emptying your cabinets and clearing the countertops. Then, it’s time to roll up your sleeves and deep clean with a degreaser to remove any surface buildup. After that, sand the cabinets to create a rough surface for the primer to adhere to. Finally, address any defects with wood filler, ensuring your cabinets are as smooth as can be before the painting begins.
Removing Doors and Drawer Fronts
First things first, let’s talk about removing those cabinet doors and drawer fronts. This might seem like a daunting task but trust us, it’s easier than you think. For cabinet doors with clip-on/off hinges, simply press the release clip on the hinge to detach the doors. For doors with standard hinges, a Phillips head screwdriver will do the trick.
Oh, and don’t forget to label the doors and match them to the corresponding cabinet boxes. This will ensure they go back in the right spot after painting.
Deep Cleaning with Degreasers
Now that the doors are off, it’s time to roll up those sleeves and get cleaning. Kitchen cabinets, especially, can accumulate a lot of grease and grime over time. So, a good deep clean with a degreaser is crucial to remove all these contaminants that could prevent paint adhesion. Just remember to test the degreaser in a less visible area first to avoid any damage or discoloration.
Once you’re done applying the cleaning solution, scrub the surfaces, wipe them off with a damp microfiber cloth, and voila, your cabinets are ready for a fresh coat of paint.
Our suggestion for:
Addressing Defects with Wood Filler
Cabinets, like people, can have their own little imperfections. But just as we embrace our flaws, we can also fix those in our cabinets. How, you ask? Well, with the magic of wood filler!
Start by inspecting the cabinet surfaces for any chips, cracks, or old hardware holes. Then use a putty knife to apply wood filler into these defects, pressing firmly to fill them completely. Once the wood filler is dry, you’ll need to sand the areas to match the surrounding surface texture. And just like that, you’ve given your cabinets a little makeover before you even paint cabinets!
Our Suggestion for:
Sanding: The Key to a Smooth Base

Sanding tools and cabinet surfaces
If there’s one thing we can’t skip in our cabinet painting journey, it’s sanding. Think of it as the magic wand that transforms your cabinets from plain to perfect. Sanding the cabinet surfaces increases the wood filler’s adhesion, ensures removal of old paint, and fosters a strong bond between the new paint and the cabinet surface.
Sounds like a lot of work, right? But don’t worry, with the right sander and the right techniques, you’ll have your cabinets looking smooth and ready for primer in no time.
Choosing the Right Grit
Choosing the right grit sandpaper is a bit like choosing the right outfit - it all depends on the occasion. In this case, our occasion is preparing our cabinets for a fresh coat of paint. For the initial sanding stage, using 100 or 150-grit sandpaper is appropriate to roughen up the cabinet surfaces and ensure proper primer adherence. Remember, the goal here is to create a smooth base for the paint to stick to.
So, choose your sandpaper wisely and don’t forget to use a tack cloth!
Alternatives for Detailed Areas
Cabinets often have intricate details that can be challenging to reach with a regular sander. That’s where sanding sponges or blocks come in. These handy tools are perfect for manual sanding in tight spots and grooves.
So, while a sander might be ideal for the large, flat areas of your cabinets, don’t forget to keep a sanding sponge or block on hand for those detailed areas.
Our suggestion for:
Priming for Perfection

To get the best results you must prep with the best
Once your cabinets are smooth and free of defects, it’s time to prime them. Think of primer as the bridge between your cabinet and the paint. It provides a suitable surface for the paint to adhere to, covering old paint jobs and imperfections. Applying primer evenly across all cabinet surfaces is key. You’ll need to let it dry as per the manufacturer’s guidelines before moving on to the next step. Remember, the goal here is to create a perfect base for your paint.
Applying Primer Evenly
Applying primer might seem straightforward, but there’s a bit of an art to it. Here’s how to do it:
Start with small sections.
Use long strokes to cover surfaces uniformly.
This will ensure that your primer is spread evenly across the cabinet surface, setting the stage for the paint to adhere better.
Also, remember to let each layer of primer dry completely before applying the next one. This way, you’ll achieve the best coverage and a smooth base for your paint.
Sanding Between Coats
Remember when we said that sanding is like the magic wand for your cabinets? Well, this magic needs to be performed between each coat of primer too. Lightly sanding the surfaces after each primer coat removes any lumps or imperfections, preparing the surface for the subsequent layers of paint.
So, after applying your primer and letting it dry, make sure to give it a quick sanding before moving on to the spray paint, ensuring the wet paint is properly prepared.
220 is usually a safe grit to use for sanding between coats
Our suggestion for:
Painting Cabinets Like a Pro

Painter selecting between latex and oil-based paint
You’ve gathered your supplies to paint your kitchen cabinets, removed your cabinet doors, cleaned, sanded, and primed your cabinets. Now, it’s finally time for the main event - painting! This is where your kitchen starts to transform. But before you get started, you’ll need to decide between latex and oil-based paint and master the art of using brushes and rollers. After all, we’re aiming for a professional finish, aren’t we?
Latex Paint vs. Oil-Based Paint
When it comes to choosing paint for your cabinets, you’ll need to consider between latex and oil-based paints. Latex paints are loved for their quick drying times and easy cleanups, while oil-based paints are prized for their durable paint film and ability to level out, creating a smoother finish. Your choice will depend on both the type of paint and the finish you desire.
Mastering the Art of Brush and Roller Use
Just like a painter uses different brushes to create different strokes on a canvas, you’ll need to master the art of using brushes and rollers for painting cabinets. Rollers are perfect for large, flat areas, providing quick and even paint application.
Brushes, on the other hand, are ideal for cutting in or painting small, intricate details. The key here is to apply the techniques that minimize brush strokes and ensure even paint distribution.
Reassembling for the Reveal
With the painting done, it’s time to put everything back together. This is where your kitchen starts to come alive again. Reattaching the doors, drawer fronts, and hardware might seem like a daunting task, but with a bit of patience and care, you’ll see your kitchen transform right before your eyes.
Attaching Hardware and Drawer Pulls

Knobs and pulls really bring the room together
Let’s start by attaching the hardware and drawer pulls. This might seem like a small step, but it’s one that can make a big difference in the look and feel of your kitchen. Here’s how to do it:
Use a template to mark the location for the hardware on the cabinets.
Drill holes for the hardware screws from the front to the back.
Attach the hardware.
And just like that, you’re one step closer to your dream kitchen!
Ensuring Paint is Fully Cured
Before you get too excited and start using your newly painted cabinets, there’s one last thing you need to do - let the paint fully cure. This is crucial for the durability of the paint and to withstand regular use without damage. So, try to wait at least 48 hours before reattaching cabinet doors and hardware.
We know it’s hard to wait when you’re eager to see the final result, but trust us, it’s worth it!
Maintaining Your Newly Painted Cabinets
Now that you’ve successfully transformed your kitchen cabinets, you might be wondering how to keep them looking new and shiny. Well, maintenance is key. From regular cleaning to touch-ups, there are several things you can do to maintain your newly painted cabinets.
After all, you’ve put in a lot of effort into painting them, so it’s only fair that you take care of them, right?

A raised panel door painted in navy blue color with a raking light
Regular Cleaning Recommendations
Regular cleaning is an essential part of maintaining your newly painted cabinets. But remember, the goal is to clean them, not damage them. So, here are some tips for cleaning your cabinets:
Avoid using harsh chemicals that could damage the wood and paint finish.
Use a damp microfiber cloth for gentle surface cleaning.
Dry the cabinets with a towel to avoid leaving moisture on them.
By following these tips, you can keep your cabinets clean and in good condition.
For more thorough cleaning, use paint-safe cleaners, ensuring to first spot-test them on an inconspicuous area of the cabinet to check compatibility.
Touch-Up Tricks
Despite your best efforts, there may be times when your cabinets need a little touch-up. Maybe it’s a minor scratch or a small chip - whatever it is, touch-up pens from your local paint store can be your saviors. These pens can effectively mask minor imperfections on your cabinets.
Before applying the touch-up paint, prepare the area by following these steps:
Buff the damaged area with a Scotch-Brite pad for better paint adhesion and blending.
Apply a thin coat of paint to the damaged area and let it dry.
Apply additional coats as needed to match the surrounding paintwork.
Once the touch-up paint is dried, seal the area with a clear protective coat to create a seamless appearance with the existing finish.
Our suggestion for:
Summary
So, there you have it, a step-by-step guide to painting your kitchen cabinets like a pro. We’ve walked you through the entire process, from assembling the right supplies and preparing your cabinets to the final reveal. Remember, the key to a successful cabinet painting project lies in the preparation and patience. Whether you’re a DIY novice or a seasoned pro, with the right tools and tips, you can transform your kitchen cabinets into a masterpiece. So, what are you waiting for? It’s time to roll up your sleeves and embark on this transformation journey!
Frequently Asked Questions

Can I paint cabinets without sanding?
Yes, you can paint cabinets without sanding as long as the surface is stable and clean, and you use a good-quality cabinet paint. Just make sure to properly clean and degloss the surface before painting them.
What kind of paint do you use on cabinets?
You can use high-quality enamel-based or latex paint for cabinets, which will be durable enough for daily wear and tear. A gloss or semi-gloss finish tends to stand up better to cleaning and scratches. Acrylic latex-based paint is also a good option, as it is durable and easy to clean up.
What type of brushes and rollers should I use for painting cabinets?
You should use high-quality synthetic brushes, such as nylon or polyester, for painting cabinets as they work well with water and oil-based finishes. Additionally, foam rollers are recommended for large, flat areas for a quick and even application of paint.
What is the importance of sanding in the cabinet painting process?
Sanding is important in the cabinet painting process as it removes old paint, creates a rough surface for primer adhesion, and ensures a strong bond between the new paint and the cabinet surface. This is crucial for a smooth and durable finish.
What regular cleaning practices should I follow to maintain my newly painted cabinets?
To maintain your newly painted cabinets, regularly clean them with a damp microfiber cloth, and then dry them with a towel. You can also use paint-safe cleaners for more thorough cleaning, but always do a spot test first to check compatibility.